Introducing: The Eyeliner Guide
Posted on 18-04-2021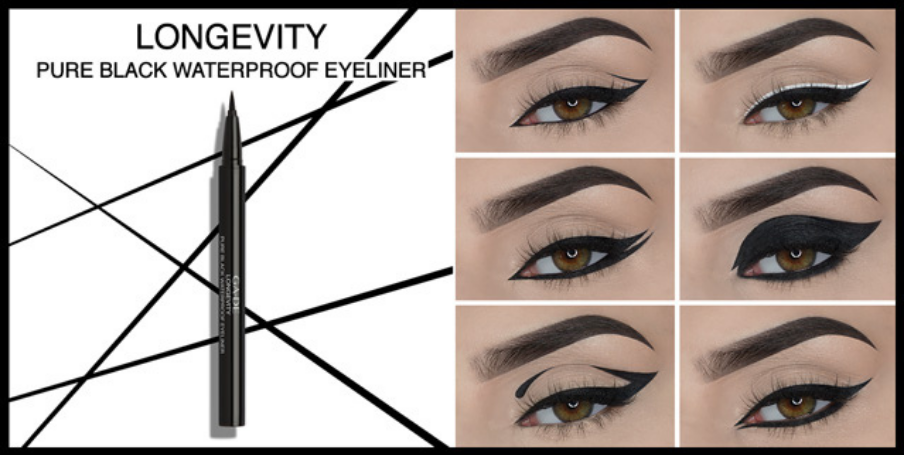
You can date a photo just by looking at the way a woman is wearing her eyeliner. from the classic cat eye flick of the 50s and the neon brights of the 80s to the skinny lines of the 90s, eyeliner has been one of women’s most useful makeup bag tools for decades.
Now we’re lucky enough to have a full arsenal of different types of eyeliner, from khol to liquid you can achieve whatever look that takes your fancy.
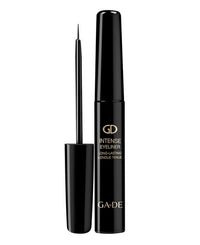
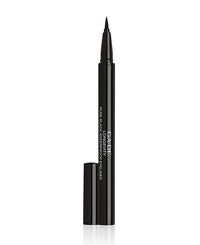
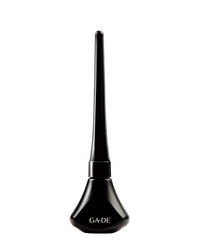
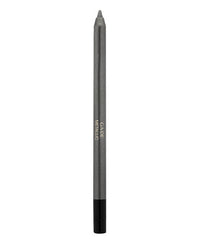
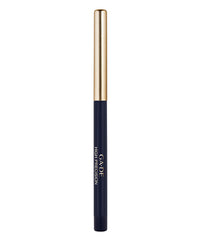
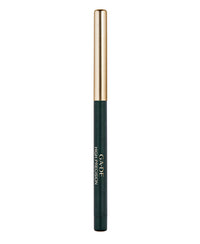
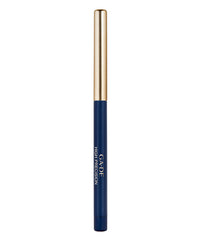
GA-DE’s lab technicians have been hard at work to produce a new product which ticks all the boxes you’re looking for when it comes to a liquid liner. Our new Longevity Eyeliner is an intensely pigmented waterproof liner which promises no smudging throughout the day and a non flake precision line. This long lasting feature is especially important with a liquid liner, where the effect is neat and graphic, as opposed to the softer look achieved with pencil.
Also featuring a super-flex brush tip, Longevity Eyeliner affords you maximum control over the application, allowing you to really push the boat out when it comes to sampling different looks and styles.
Our in-house makeup artist has produced six beautiful graphic looks with GA-DE’s new Longevity Eyeliner and here we share with you how to replicate them
Look 1

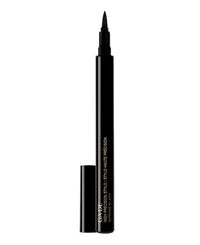
- Using the ultra fine felt tip start at the outer-edge of the eye and carefully create an extended wing
(Tip: remember to angle the flick upwards to create that cats eye effect - Extend the line all the way across the eye to the inner corner. Stay close to the lash line and extend the line at the tear duct by a very small amount to continue with the feline vibe.
- Carefully pull the lower eyelid down and draw the pen across the water line of your lower lashes, creating a sultry effect
- Finish the look with by adding an extra line that extends the outer corner up along the crease of the lid by a few millimetres.
Look 2

- Start with a simple winged eye as described in steps 1 and 2 in look one, but ending the line at the tear duct
- Take a white liquid liner and carefully trace it along the upper edge of the black line you’ve already created (Tip: Wait for the black liner to dry before adding the white line)
Look 3

- Create a winged line on the upper lashes using the tips from the looks above
- Starting from the inner corner this time, and connecting with the end of the upper line, take the pen all the way under the lash line. (Tip: If you’re not comfortable using longer steady strokes using small feather like strokes to build the line bit by bit)
- Extend the line past the outer corner to create a second flick that mirrors the upper flick but doesn’t touch it
- Finish with a lick of liner across the wet line.
Look 4

- Start with the classic winged eyeliner as described in look 2
- Take the pen and draw a second line along the crease of the eyelid connecting with the first line at the outer and inner corners and fill in the gap!
- Finish with a slick of liner under the eye and in the wet line.
Look 5

- Start with the unique reverse winged eye as described in look 1
- Take the pen and with an ultra steady hand extend with a thin line along the lid crease, almost to the tear duct.
- Keep building the end of the line with small strokes to create the unique tear drop shape
Look 6

This is the sister to look three, with a reverse on the double wing. This one is a little more subtle, but works as a kind of special effect to make the eyes appear a little wider.
- Repeat steps from look 3 but connect the lines in the outer corner for a classic cat eye and run them parallel in the inner corner

